


AutoSmart Parts
Battery Capacity Indicator DC 8V to 100V, LCD Voltmeter for Lithium Lead Acid LiFePO4
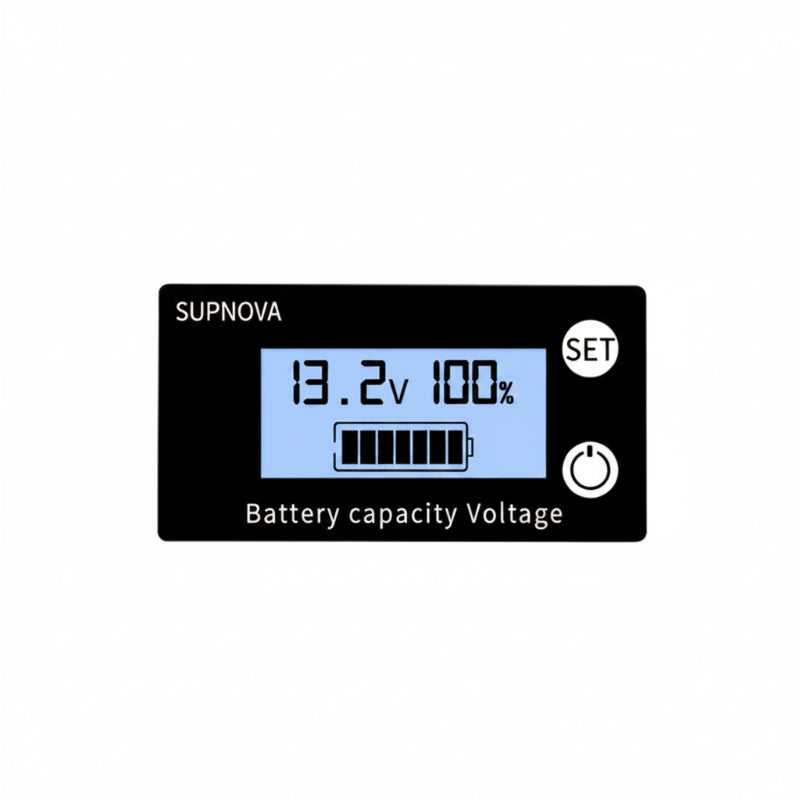
Know exactly how much power is left before the battery fails. This LCD indicator shows voltage and capacity across 8V to 100V, working with lithium, lead acid and LiFePO4 systems.
Regular price
$24.99 AUD
Regular price
$33.99 AUD
Sale price
$24.99 AUD
 Secure shipping
 24/7 support
 Shows voltage and battery capacity at the same time
Wide DC 8V to 100V range covers 12V to 72V batteries
Works with Lithium, Lead Acid, and LiFePO4
Reverse polarity protected, safe to install
Quantity
Couldn't load pickup availability
Specifications
Specifications
Compatible With
Compatible With
What’s Included / Care Instructions
What’s Included / Care Instructions


Quick Install
1. Cut the Mount Hole
Mark and cut a 58 × 28 mm rectangular hole in your dashboard or panel. Test fit the indicator before final mounting.
2. Connect the Wires
Connect red wire to battery positive (+) and black wire to negative (-). Reverse polarity protection guards against wrong wiring.
3. Mount and Read
Push the indicator into the cutout. The LCD lights up showing real time voltage and battery capacity percentage.
Common Questions Before You Buy
Does it auto detect battery voltage?
Yes. Connect to any 12V, 24V, 48V, or 72V battery system within the 8V to 100V range and the indicator displays the correct capacity reading automatically.
Which screen color should I pick?
Blue Screen has good night visibility, easy on eyes. White Screen reads best in daylight. Color Screen displays multiple colors and is the most visually interesting.
How accurate is it?
1% accuracy with measurements twice per second. Suitable for monitoring battery state on RVs, e bikes, and solar storage. Not for laboratory grade precision.
Is it waterproof?
No. The indicator is not waterproof and should be installed in a protected location away from direct water. Wipe the screen with a soft dry cloth when needed and avoid exposure to heavy moisture or rain.
Will it drain my battery?
Minimal draw, less than 15 mA. Safe to leave connected long term without affecting battery life. Wire it through an ignition switched circuit if you want it off when the engine stops.